Back from a short vacation by the sea, and mostly recovered from working at the Provincial Highland Games, I'm working at finishing things again. Today (Monday) is a holiday here, and as it is nice and cool for a change, I've been able to reach some progress on my various bits and pieces. First of all, I want to show you a photo that I took to help me make an espaliered tree or two for the eventual Apothecary Garden. This is from Kew Gardens, and will have to serve me in making a mini version, as it seems next to impossible to find the Dutch dolls' house version that prompted the idea of espaliered trees:
You'll likely have to enlarge this, as the trained branches of the trees are somewhat obscured by the brickwork. It will be an interesting challenge to make a "flat" tree in miniature, and it will likely have to be glued here and there to the eventual wall. The foreground planting looks like lavender or rosemary, both of which tend to be found in Apothecary gardens.
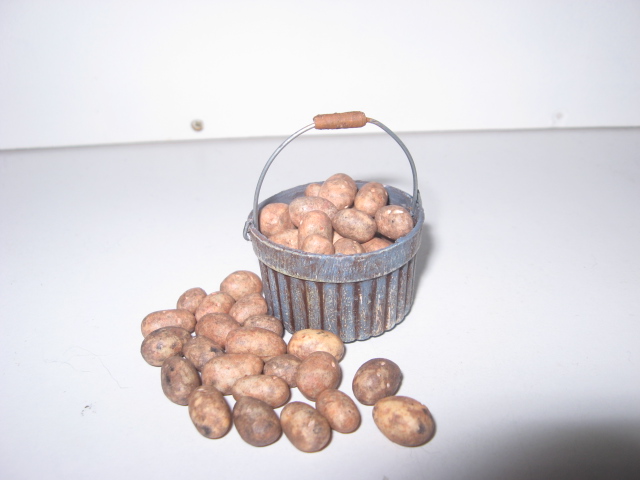
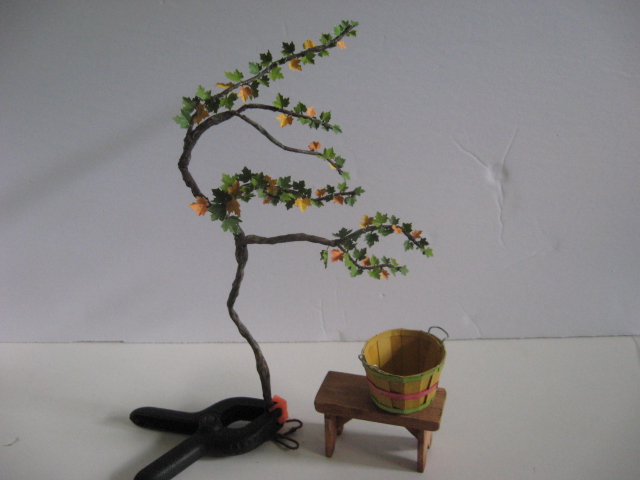
And yes, I've begun to re-leaf the grape vine; the humidity has slacked today, and the paper is taking the creases properly again! I'm using four different sizes of maple leaf punches to make the leaves, made from hand-painted papers with appropriate autumnal speckles on them. The vine is about half done, which means more punching is needed, as I've used up all the third size leaves punches. The basket was started yesterday (Saturday), allowed to partially dry overnight, and had the last banding and the handles attached today. I have super glue on my left index finger....
The basket was made from old binder-divider cardboard, following a tutorial in the Nov. 2014 issue of Dolls House World. The wire handles were formed over a block of scrap wood, and that's where the super glue came in. I think it looks pretty good for a first effort, and "filled" with apples or the like, will make a nice addition to the vignette I'm working on. It still needs aging, though!
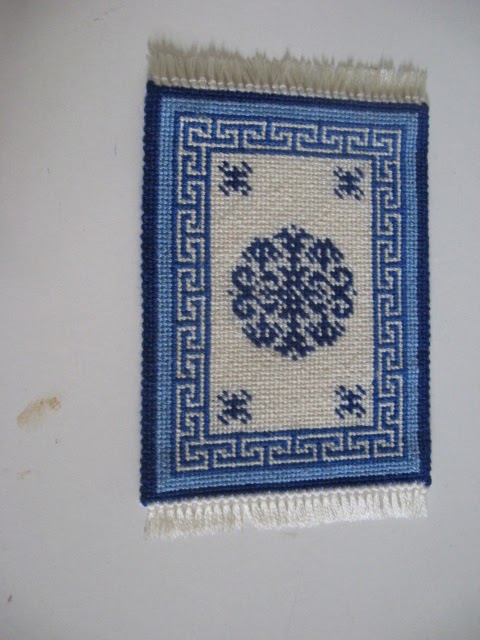
On the needlework front, three of the rugs are "done" except for hemming and fringing; I'm waiting to do several at once, as soon as the rest are done. There seems to be an oriental theme here!
I did work on rugs on my little vacation, sitting on the rear veranda of my sister-in-law's house, which looks out over a lovely lake and tends to have a nice breeze going, as well. The rust/gold rug is a colonial style, but I misread the pattern and it will be a wee bit more colourful than planned; the pattern called for two rows gold and one rust rather than what I began to do. As the back is worked in a labour-intensive stitch (diagonal basket-weave), I didn't have the courage to pull things out yet again to do it according to instructions. The Bokhara-style rug is all half cross stitch, due to the dense pattern, and will need blocking as that stitch tends to pull needlework on the bias.
A close-up look at the leaves on the grape vine....
Well, back to work!