It has been a very dry period of getting any minis done, as we have had to cancel our weekly get-togethers for a month or so. Marilyn of Charminis was suffering from mini withdrawal, so although our other co-mini-ist Louise was unavailable, we just had to get together.
I had the good luck over the weekend of finding a bag of small plastic Easter eggs in a charity shop, an item I'd been looking for for a while, as I needed them to make lampshades for my wooden shoe factory.
I used the rounder end of the plastic eggs, but as they had a thin rim on them, I cut narrow strips of cardboard (found in between layers of cat food tins), to fill the gaps. The centre was then drilled with my pin vise to create an opening for the wired bulbs, and the hole enlarged a bit with a round rat-tail file. (The upper, more pointy end of the eggs might make good bee-hives, with the addition of rope or raffia to mimic the straw old skeps were usually made of.)
Three eggs have their strips, glued on the plastic with Aleene's Jewel Glue, held by tiny copper clamps. I pre-bend the strips by rolling over them, on my thigh, with the round handle of my Xacto knife.
The egg halves had small air holes in them, which I plugged with toothpick bits or the ends of bamboo skewers; then I sanded them flush to the surface of the eggs with an emery board. The yellow half shows the hole, the green one a plugged hole. They were then lightly sanded with a sandpaper sponge, and given a coat of multi-purpose sealer. This was then allowed to dry while I had some lunch and awaited Marilyn's arrival.
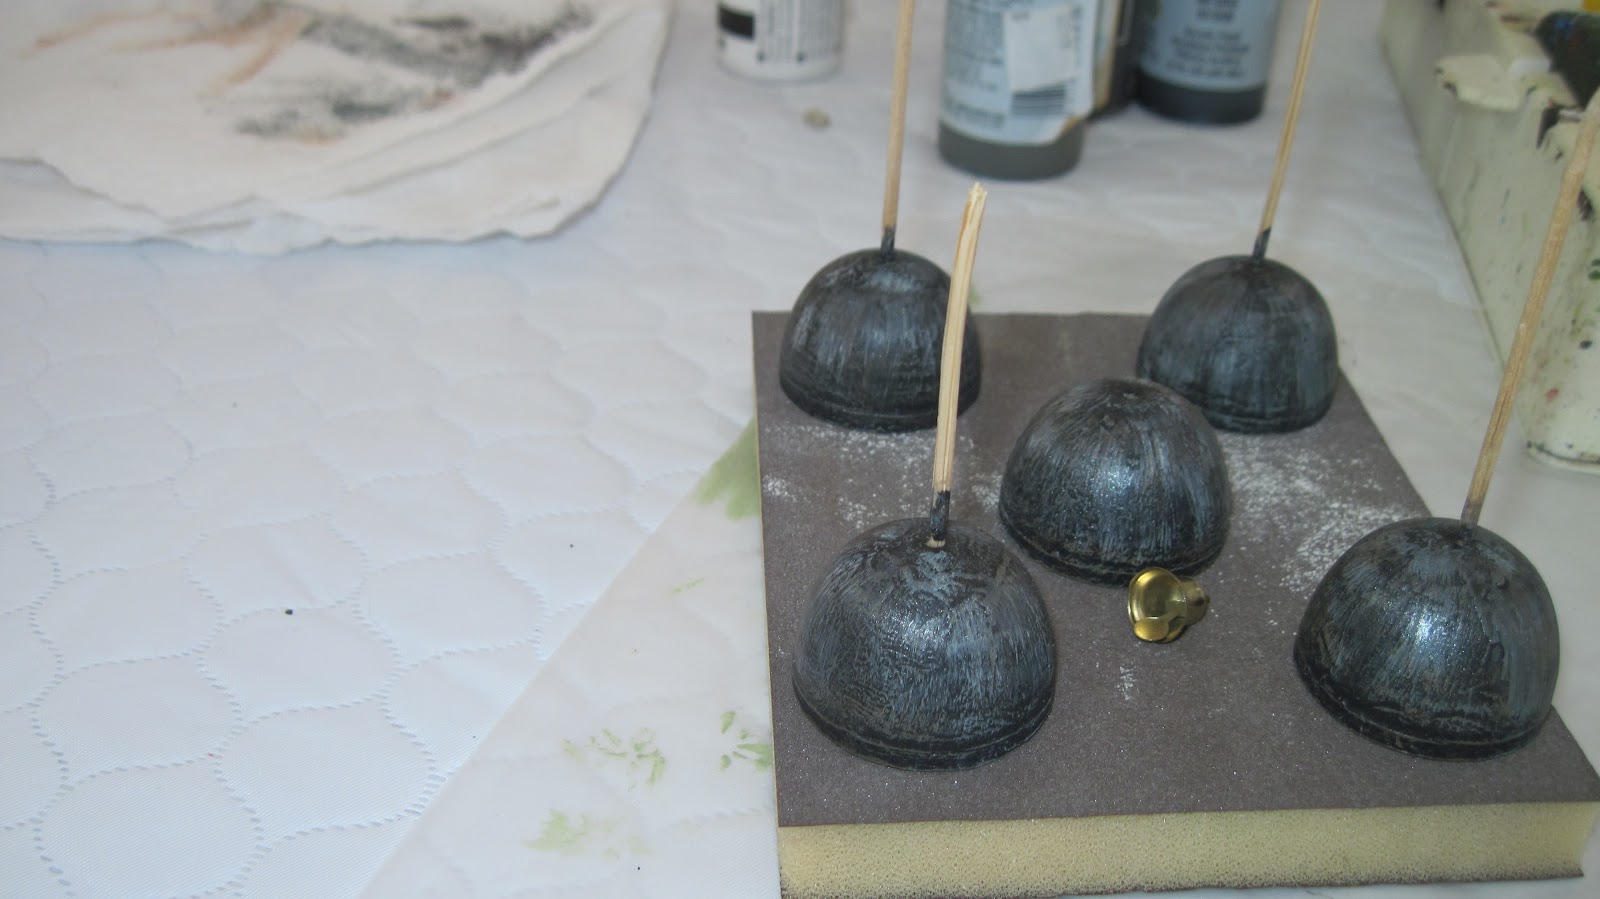
I stuck toothpicks in the eggs to use as handles while painting them. First, I lightly sanded the surface to provide something for the paint to grab on to. The first paint was a gel one, which did not adhere at all on the plastic surface. However, plain black paint covered with no problem. When I first used an Easter egg half to make a lamp shade, we used nail polish to colour them, but I wanted worn, slightly dusty and rusty metal shades, as my wooden shoe workshop is set in the last decade of the 19th century.
Multiple coats of dry-brushed gray, terra cotta, burnt umber and pewter paint resulted in just what I had envisioned when I started the project. The little brass bell will become the top of the shade, just as soon as I found where I "hid" the others....
The last stage will be to paint the insides a dirty white - well, the workshop produces lots of sawdust, coal dust, and so on, so the inside would not be pristine. I intend to use LED lights already on their wires as the light bulbs, threading them first through the plastic shade, then through the aged little bells, and finally through a length of fine brass tube. The wires will then have to go over the top of the workshop and down again to under the stairs, where the batteries will hide. One section of stairs will be removable so allow access to the batteries - I hope!
Now to let everything dry, then I will finish the insides of the lampshades.


The egg lamps are fantastic, Marijke! They look like so much fun to make and will look amazing in the shoe factory. You will have inspired so many fun projects with this! I am glad you are back to it and that you and Marilyn were able to resume the mini meetings. Hopefully, Louise will be back soon, too!
ReplyDeleteI think those lamps are going to look perfect, Marijke. What great find - those smaller 2-piece eggs. Most of the ones you find are too large to be useful in minis - unless you're making a futuristic chair, maybe......Cheers! - Marilyn D.
ReplyDeleteGet back with Ex...
ReplyDeleteFix broken relationship/marriage..........
His result is 100% guaranteed.
(Robinsonbuckler11)gmail com,,
Florida, United States